I find few things as satisfying as putting together wall art that has a truly personal touch. Why buy a random print from Target when you can easily make something that really says something about you? The crafting world has fallen hard for bunting in recent years, and although I’ve seen dozens of bunting kits sold online, I’m more given over to handmade bunting. It not only has a more authentic touch – it’s cheaper, too!
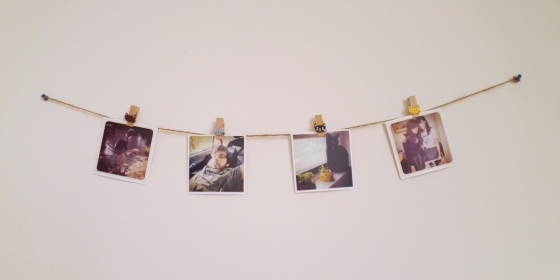
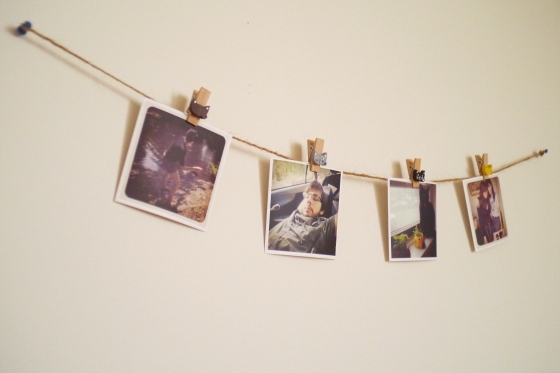
I’ve made polaroid photo bunting throughout my apartment with a few cheap supplies I had already stocked and some polaroid photos of my friends and my favorite vacation spots. The beauty of this project is that you can buy really cute clothespins or paper clips to hang your items with, or go super simple with whatever you have at hand for a shabby chic touch. Check it out:
Easy DIY Polaroid Bunting Tutorial:
You’ll need:
- Bundle of jute twine
- Thumb tacks
- Clothespins
- Polaroid photos (or whatever else you want to hang up!)
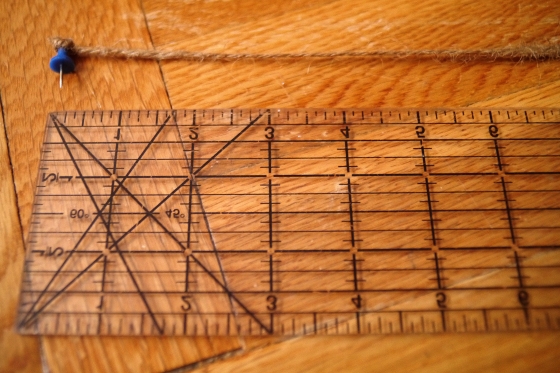
Cut 33 inches of jute twine in order to hang four photos. Add an additional 5 inches approx for each additional photo you want to add to the bunting.
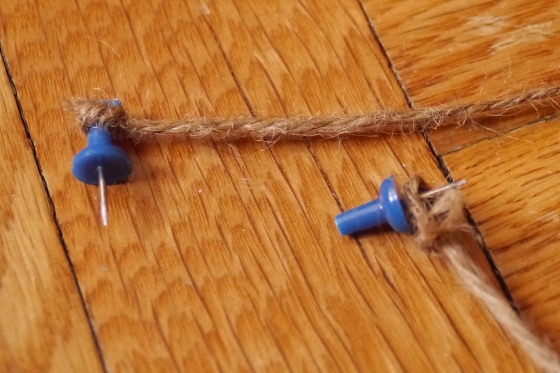
Secure each end of the bunting to a thumb tack. Tie it tightly so that it can support the weight of your photos! Tack each end of the jute evenly, making sure the jute is taut with just a little bit of slack, in order to get that pretty half-moon bunting shape once your photos as pinned up.
(Alternatively, you could use some pretty tape to secure the twine, if you’re unable to put holes in your walls. I recommend deco tape from Modes4u.com. I just like how the thumb tacks look more!)
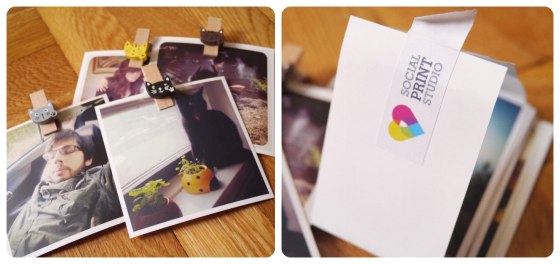
Assemble your photos and clothespins. For this project, I used Rilakkuma clothespins I found from a chain of kawaii stores in Brooklyn called Sweety Shop, but I’ve seen similar ones sold on Etsy and other Asian goods shops online.
The polaroids I had printed from my Instagram using a really cool service called Social Print Studio from Pinstagram. The prints came out really matte and high-quality, so I definitely recommend this service if you don’t have a polaroid camera in handy. Few do anymore. ;]
Place your photos onto the twine with about 1.5″ of space between each photo. Adjust and even your photos out until you get your desired look.
Hope you enjoy this tutorial! Be sure to send along photos of your completed bunting! This decoration is a really great way to brighten up your living room or bedroom – it can even be easily given as a lovely gift. :]
Pingback: Use Old Polaroids as Apartment Decorations - The Phoblographer